Get Your Account Setup For A Campaign
Postalytics has set up a “Getting Started With Postalytics” checklist to walk you through the setup and campaign process step by step. Follow these steps and you’ll be on your way to creating a direct mail piece, that can be in the mail, in no time.

Step 1: Complete Your Profile
Setting up your Profile is an important part of your Postalytics account. It must be completed in order to use Postalytics. Also, keeping this information up-to-date will ensure that notifications are sent to the right people, and it will save time when creating campaigns.
Your Profile is where you'll come to change your password and edit and billing information. In addition to the Profile section, you'll want to complete the Billing Information section. If this information matches the information for the Profile section, check the ‘same as profile’ box:
When you’ve completed the Profile page, click 'Save Profile'.
Note: When you edit your account profile, you’ll be asked to confirm your password.

Step 2: Setup Online Tracking (Optional)
If you’re interested in setting up Online Tracking via pURLs and/or personalized QR Codes, we suggest you check out the pURLs, QR’s and Domains section of our help documents.
You can track the online visitors from your mailing when you install the tracking code on your website and set up a domain. It’s even possible to integrate with your CRM.
Postalytics uses Personalized URLs (pURLs) and tracking codes to measure each target’s response on any landing page, website or e-commerce site. pURLs are generated in the campaign wizard using a domain you’ve configured in Postalytics. A unique pURL is printed (or placed in a unique QR Code) on each mailpiece. When your audience enters their pURL or scans their QR Code, they’ll be redirected to your landing page of choice, where tracking begins.
As an option, you can get the status of each target integrated into your CRM or Marketing Automation. Each status change can then trigger further marketing or sales workflows or actions.
Set Up Your Tracking Code
Setting up your tracking code is only 2 steps. You just need to copy and paste the tracking code in the HTML of the page you want to send visitors to and then validate it works. Another option is to load the tracking code into a content management system that enables you to add it globally for all pages on the site.
Step 1: Copy/Paste the code
Drop the code on the right hand side of the page into your web pages or content management system. This will act as the bridge allowing us to track online activity of folks who visit you online from the mail pieces.

Step 2: Validate* the code
Type in the web URL of the website you just installed the tracking code for. Then click “Validate”.
*note: This validation tool is in place to check that the tracking code is properly installed on your website. It does not test or validate that the tracking will work correctly within the Campaign Dashboard. Please see our help article How to Test your pURLs and QR Codes for instructions on how to test pURLs or QR Codes to ensure tracking is enabled and working properly.
Set Up a Domain
There are several domain options available. You can create a new Vanity Domain or use Postalytics free domain (p.ostal.us).
Postalytics has developed a simple, fast & easy process to find and configure vanity domains from within the Postalytics platform. You can easily search, purchase and manage vanity domains marketing campaigns. Click here for the step by step instructions on How to Purchase and Register a Vanity Domain.
Connect to CRM or Marketing (Optional)
Get Postalytics delivery and online response status codes in your CRM or Marketing Automation Platform.
Postalytics currently has a variety of integrations available, including HubSpot, Salesforce, ActiveCampaign, Zoho, GoHighLevel, Kalviyo, and Zapier, to name a few. Check out the Integrations section of our help documents to find out if Postalytics has an integration with your CRM, and for detailed instructions on how to set up your integration. We’re adding more integrations regularly, so be sure to check back often.
Step 3: Import a List
The first step in creating any personalized campaign with Postalytics is adding or uploading a contact list that contains your customers’ information. Postalytics allows you to import lists from .CSV/Excel files, or directly from HubSpot or Salesforce. We also offer Consumer, Occupant, or B2B list purchases. Please reach out if you are interested in a list purchase.
Postalytics will use your import file to create a Contact List containing all the necessary information to run your campaigns. Keep in mind that Postalytics will de-duplicate your list using first name, last name, address, city, state and zip code to ensure that you don’t send duplicate mailings.
Postalytics is currently available to deliver personalized, tracked postcards, self mailers and letters to U.S. addresses (anywhere the USPS delivers, including Puerto Rico and US Territories) as well as Canadian addresses. Other non U.S. addresses will be added in the future.
Before you upload a new contact list, it’s a good idea to review our help article Contact List Tips to ensure that your list is in the correct format.

Step 4: Build a Template
Postalytics offers a variety of methods for creative templates. You can Create In Postalytics which is easy to use the streamlined, intuitive Direct Mail Editor to build a template from scratch. It’s as easy as email!
Or Choose a Pre-Built Template from our growing library as your starting point. You can modify any/all components for your needs.
Finally, you can Build Offline and use the Postalytics Style Guide to build all or part of your template in Adobe Photoshop, Illustrator or InDesign. If you are using Canva, be sure to check out our article Using Canva Designs in Postalytics.

Step 5: Create a Campaign
Postalytics Campaigns includes all aspects of a campaign: design a direct mail postcard or letter campaign, list management, track mail delivery and response analysis.
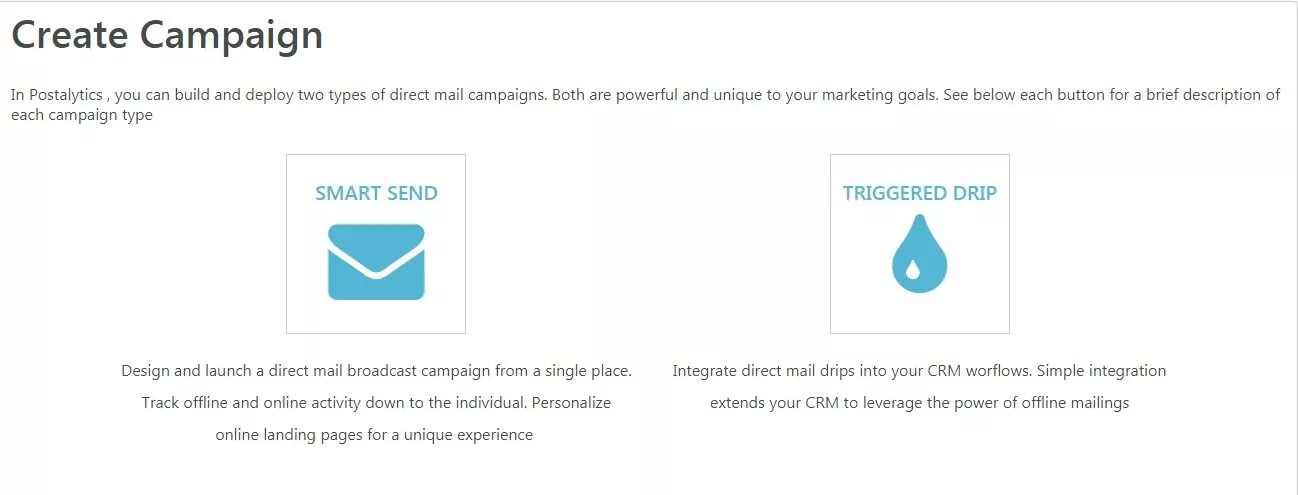
In Postalytics , you can build and deploy two types of direct mail campaigns. Both are powerful and unique to your marketing goals.
Smart Send – Design and launch a direct mail campaign from a single place. Track offline and online activity down to the individual. Personalize online landing pages for a unique experience.
Click here for step by step instructions in developing a Smart Send Campaign.
Triggered Drip – Integrate direct mail drips into your CRM workflows. Simple integration extends your CRM to leverage the power of offline mailings. Direct mail can be created automatically based on an action or trigger.
Click here for step by step instructions in developing a Triggered Drip Campaign.
Whether it's a Smart Send or Triggered Drip Campaign you're building, the Postalytics Wizard walks you through the entire process step by step and won’t let you move to the next step until the current one is completed with all required fields, so you can be confident that all of the pieces needed are there.
Postalytics is currently available to deliver personalized, tracked postcards, self mailers and letters.